Week 5 | Subtractive Manufacturing
subtractive manufacturing with the Axiom CNC router
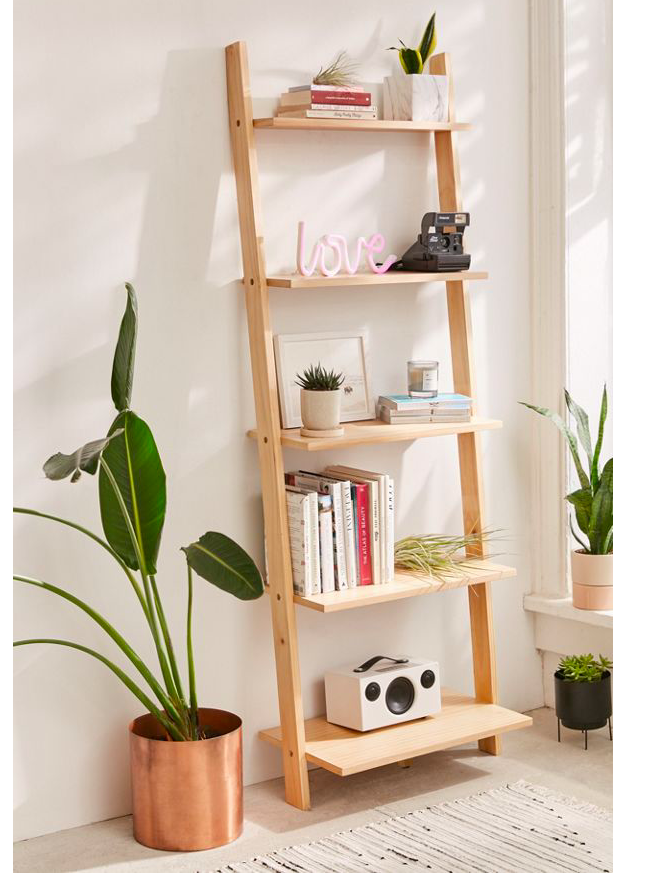
Design Inspiration
This is the project I plan to actually re-create based off of my designs and training from our Subtractive Manufacturing week
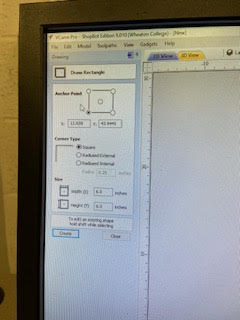
I used a software called VCarve to plan out my design for that would be a test cut on the Axiom. In VCarve, I entered the dimensions of my wood stock and set the Z Zero Position to the material surface.

Here you can see my tool bar where I could edit my tool paths for each component.
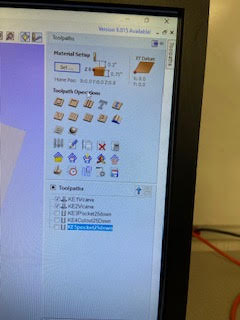
I set the cut depth for the profile cuts to be a little more than the thickness of my wood, so .78 inches. Also, I added tabs to keep the material secure.

I selected the 1/4" down-cut bit with these settings. After that, I saved each tool pass to a USB flash drive.


Here is a nice full visual of the Axiom
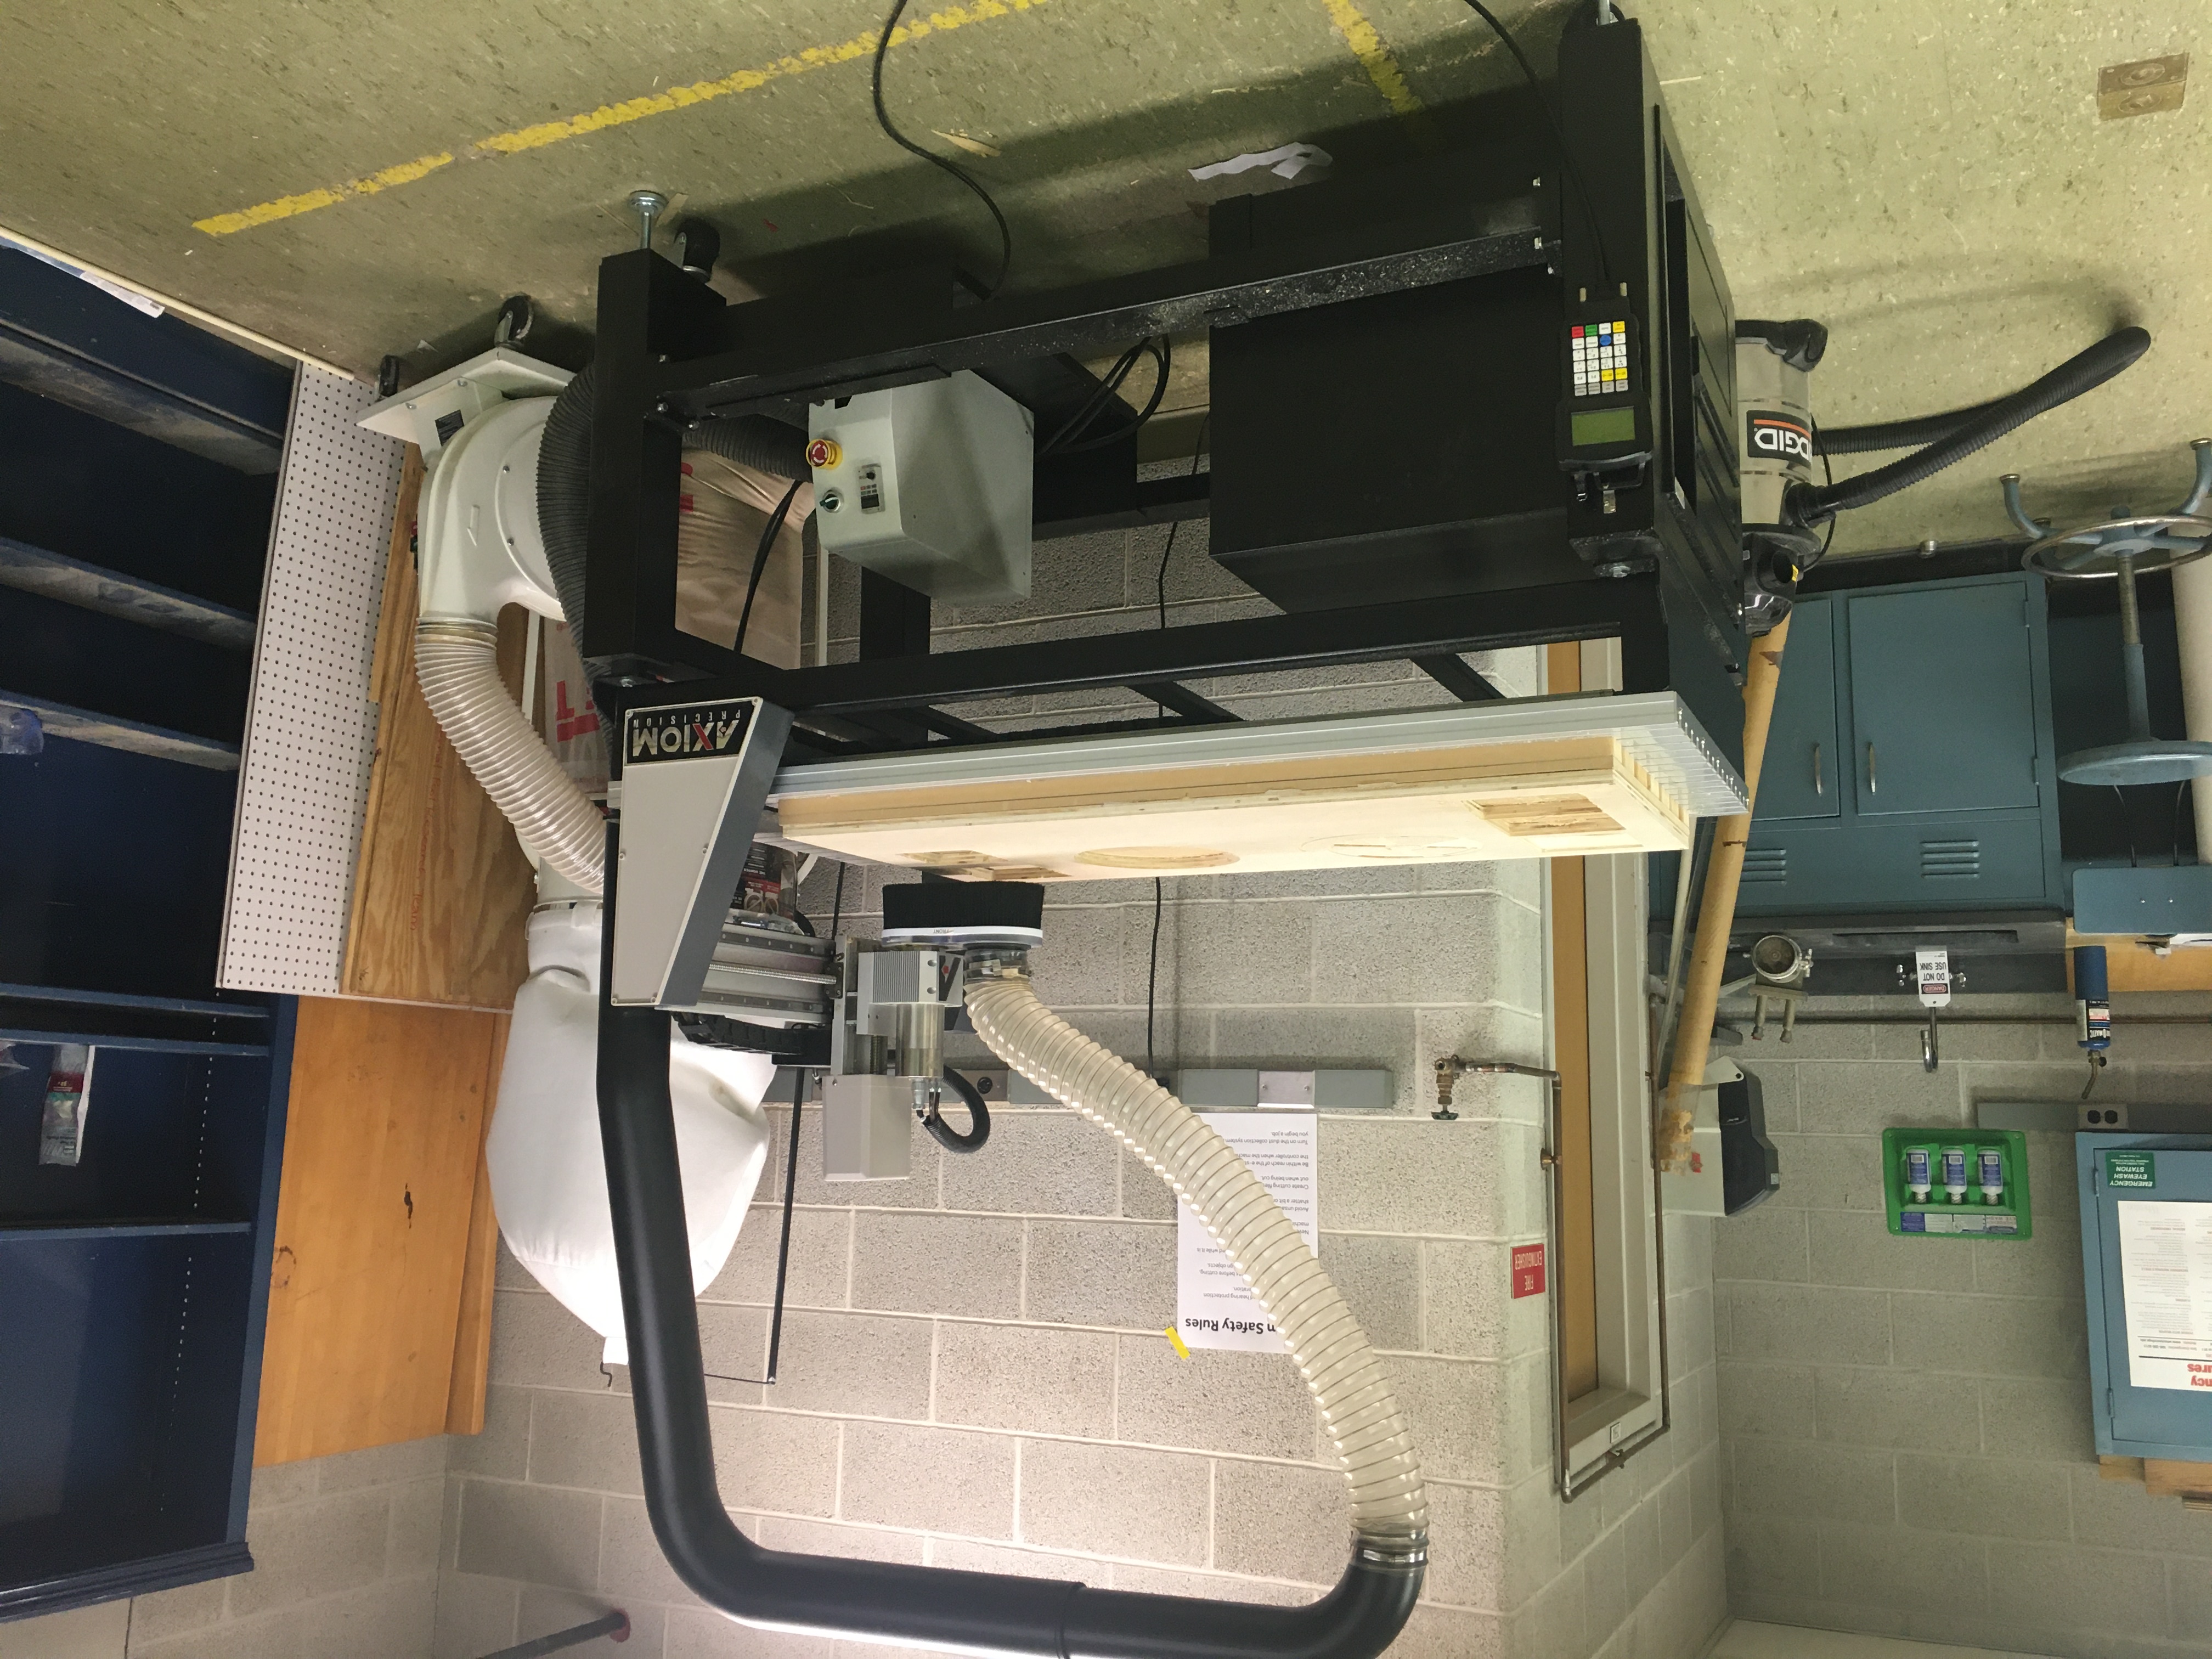
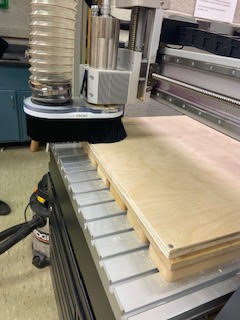
Here is the vacuum/built in dust collection system. The black dust shoe directs loose particles up a tube, and that tube is connected to the dust collector. Always turn on the dust collector before starting a project!

The green nob is the on button
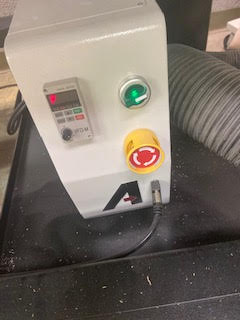
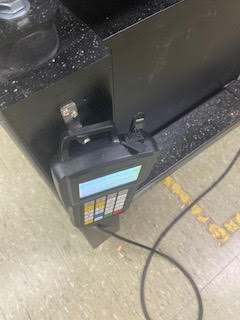
My favorite element.. The remote! This allows you to manually change the position of the spindle, set the origin point for a cutting pass, and start or cancel a new job.

Here under the front bed of the axiom we have the draw holding a variety of bit sizes and shapes. These different bits alow for different types of cuts into the wood
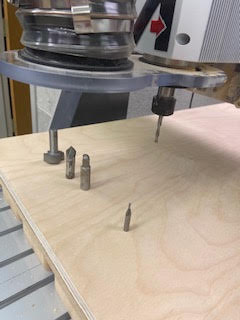
Another photo of the bits for size reference
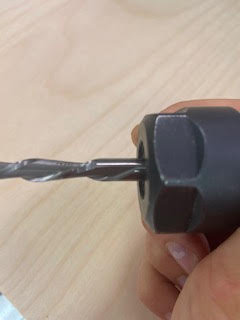
To switch the bit, you must remove the collet and the collet nut from the spindle. These parts fit together to hold the bit in place
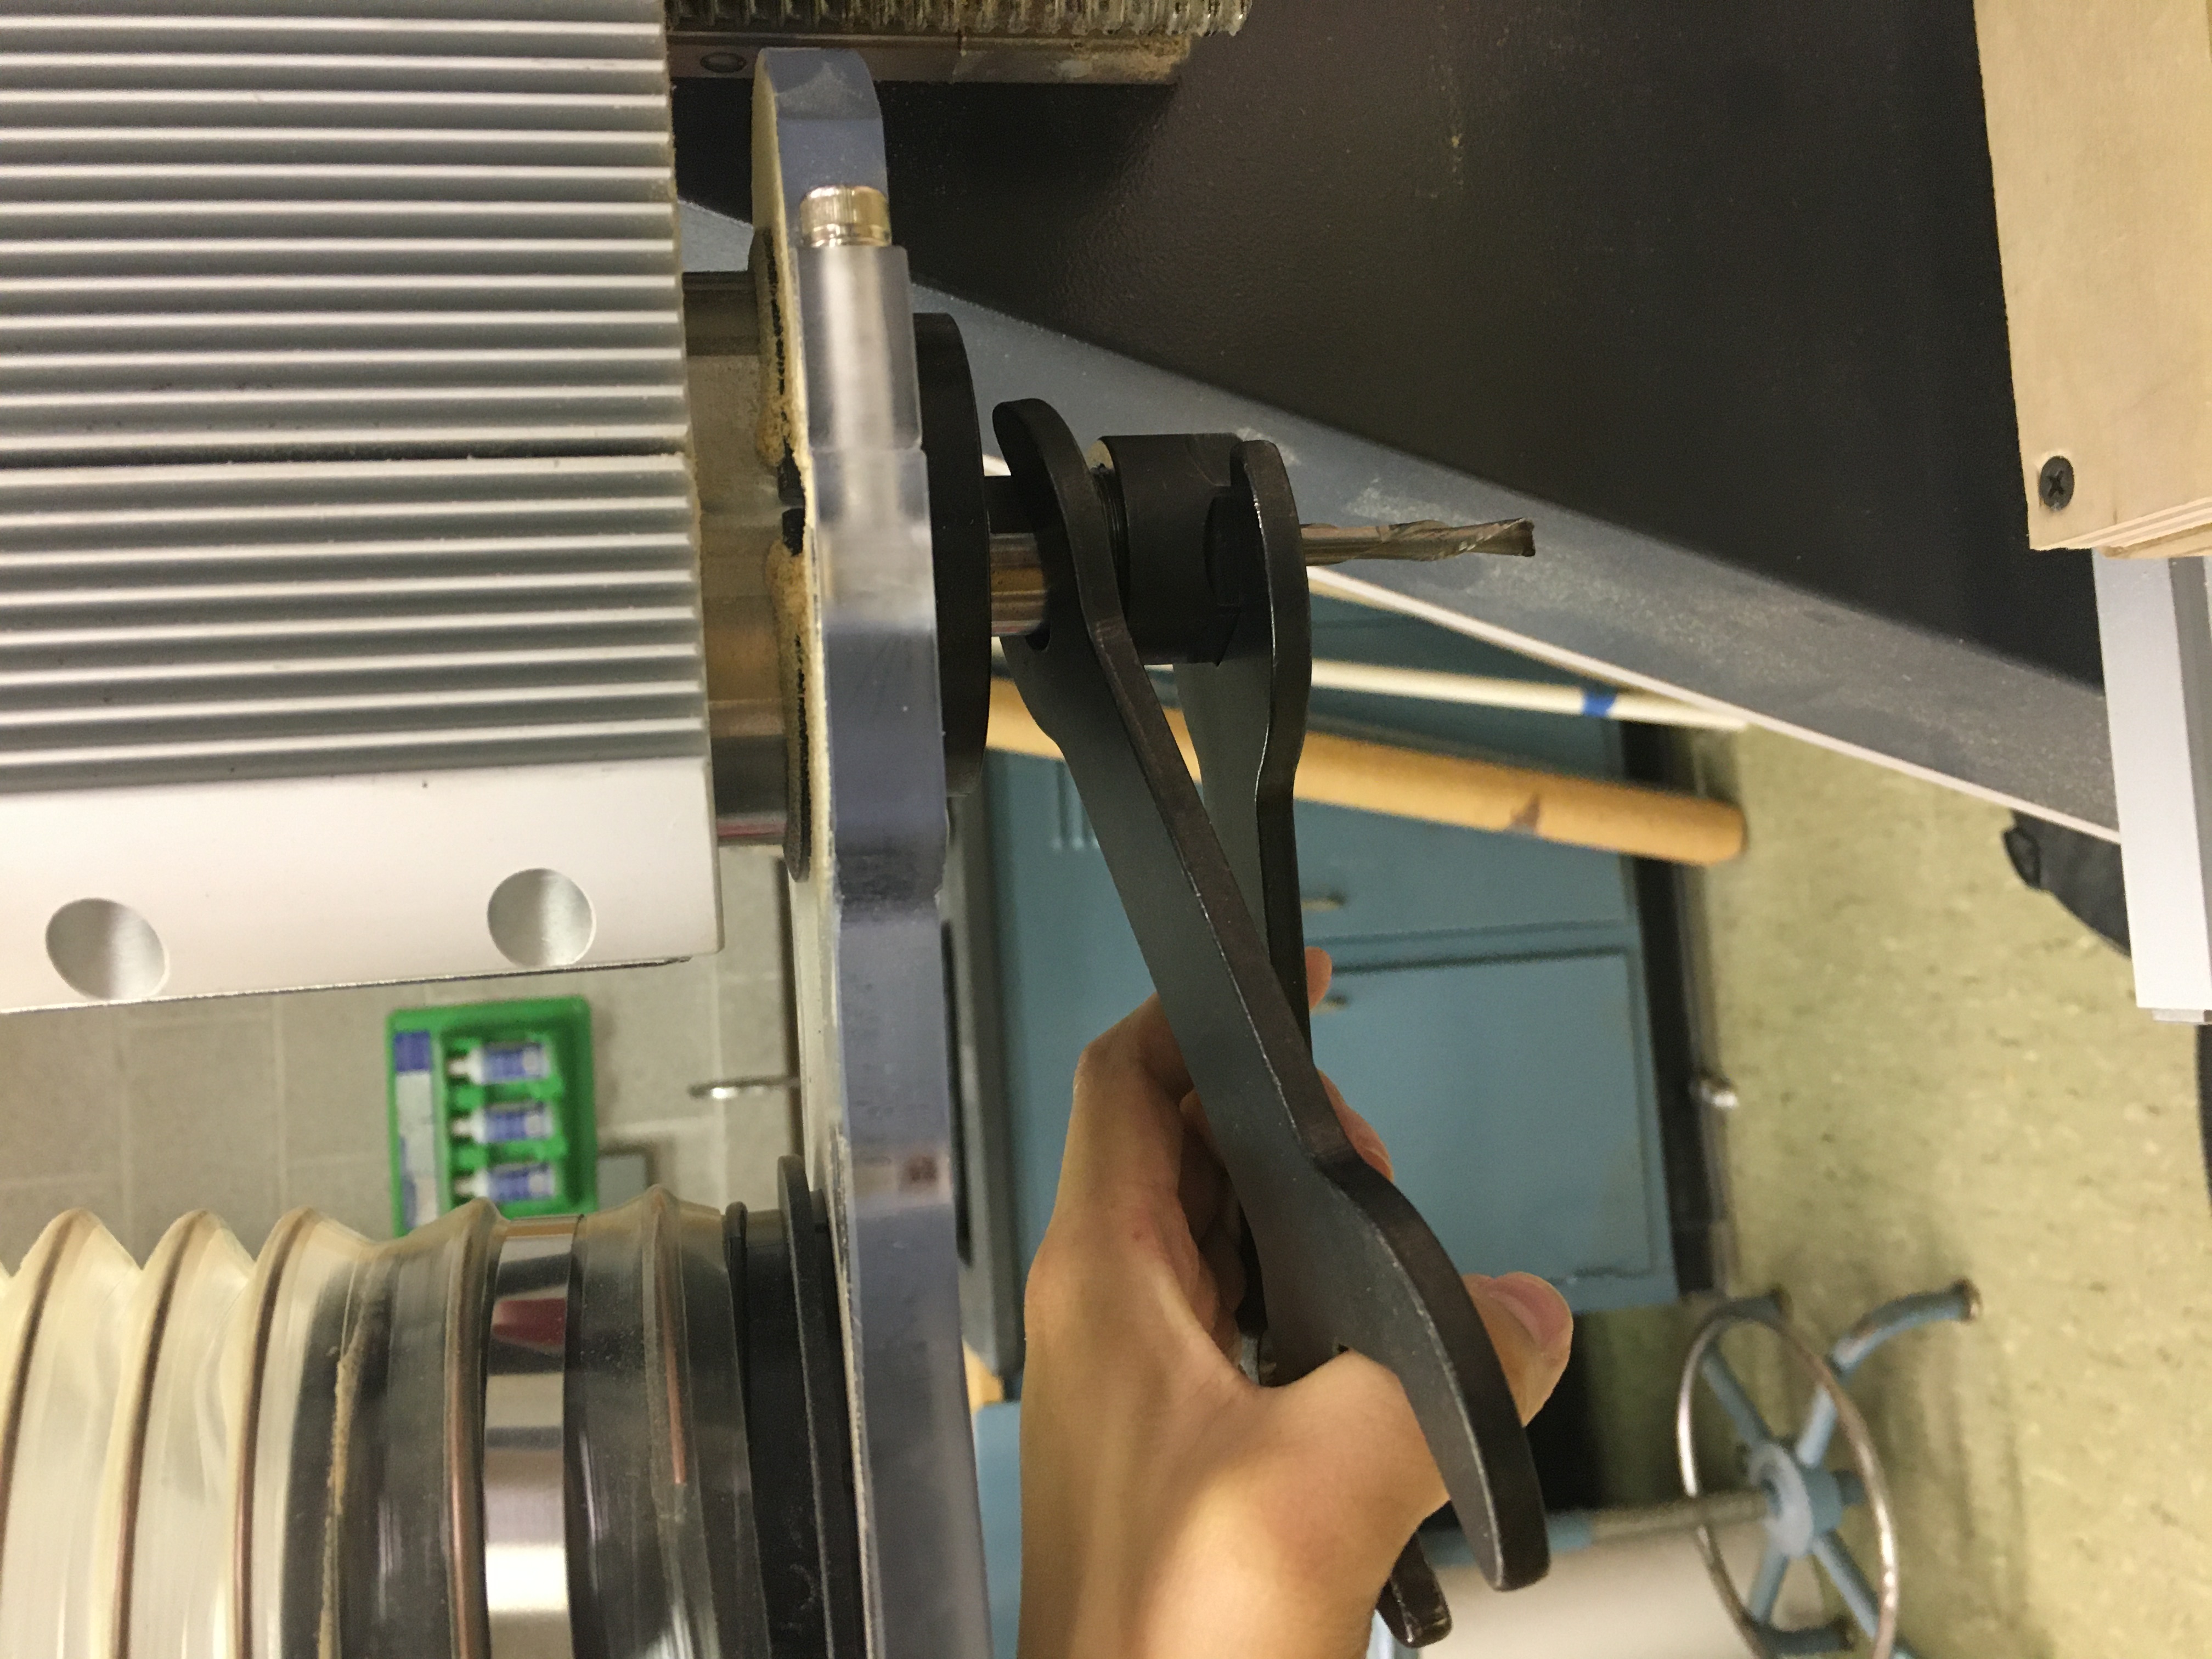
I am using this bit size
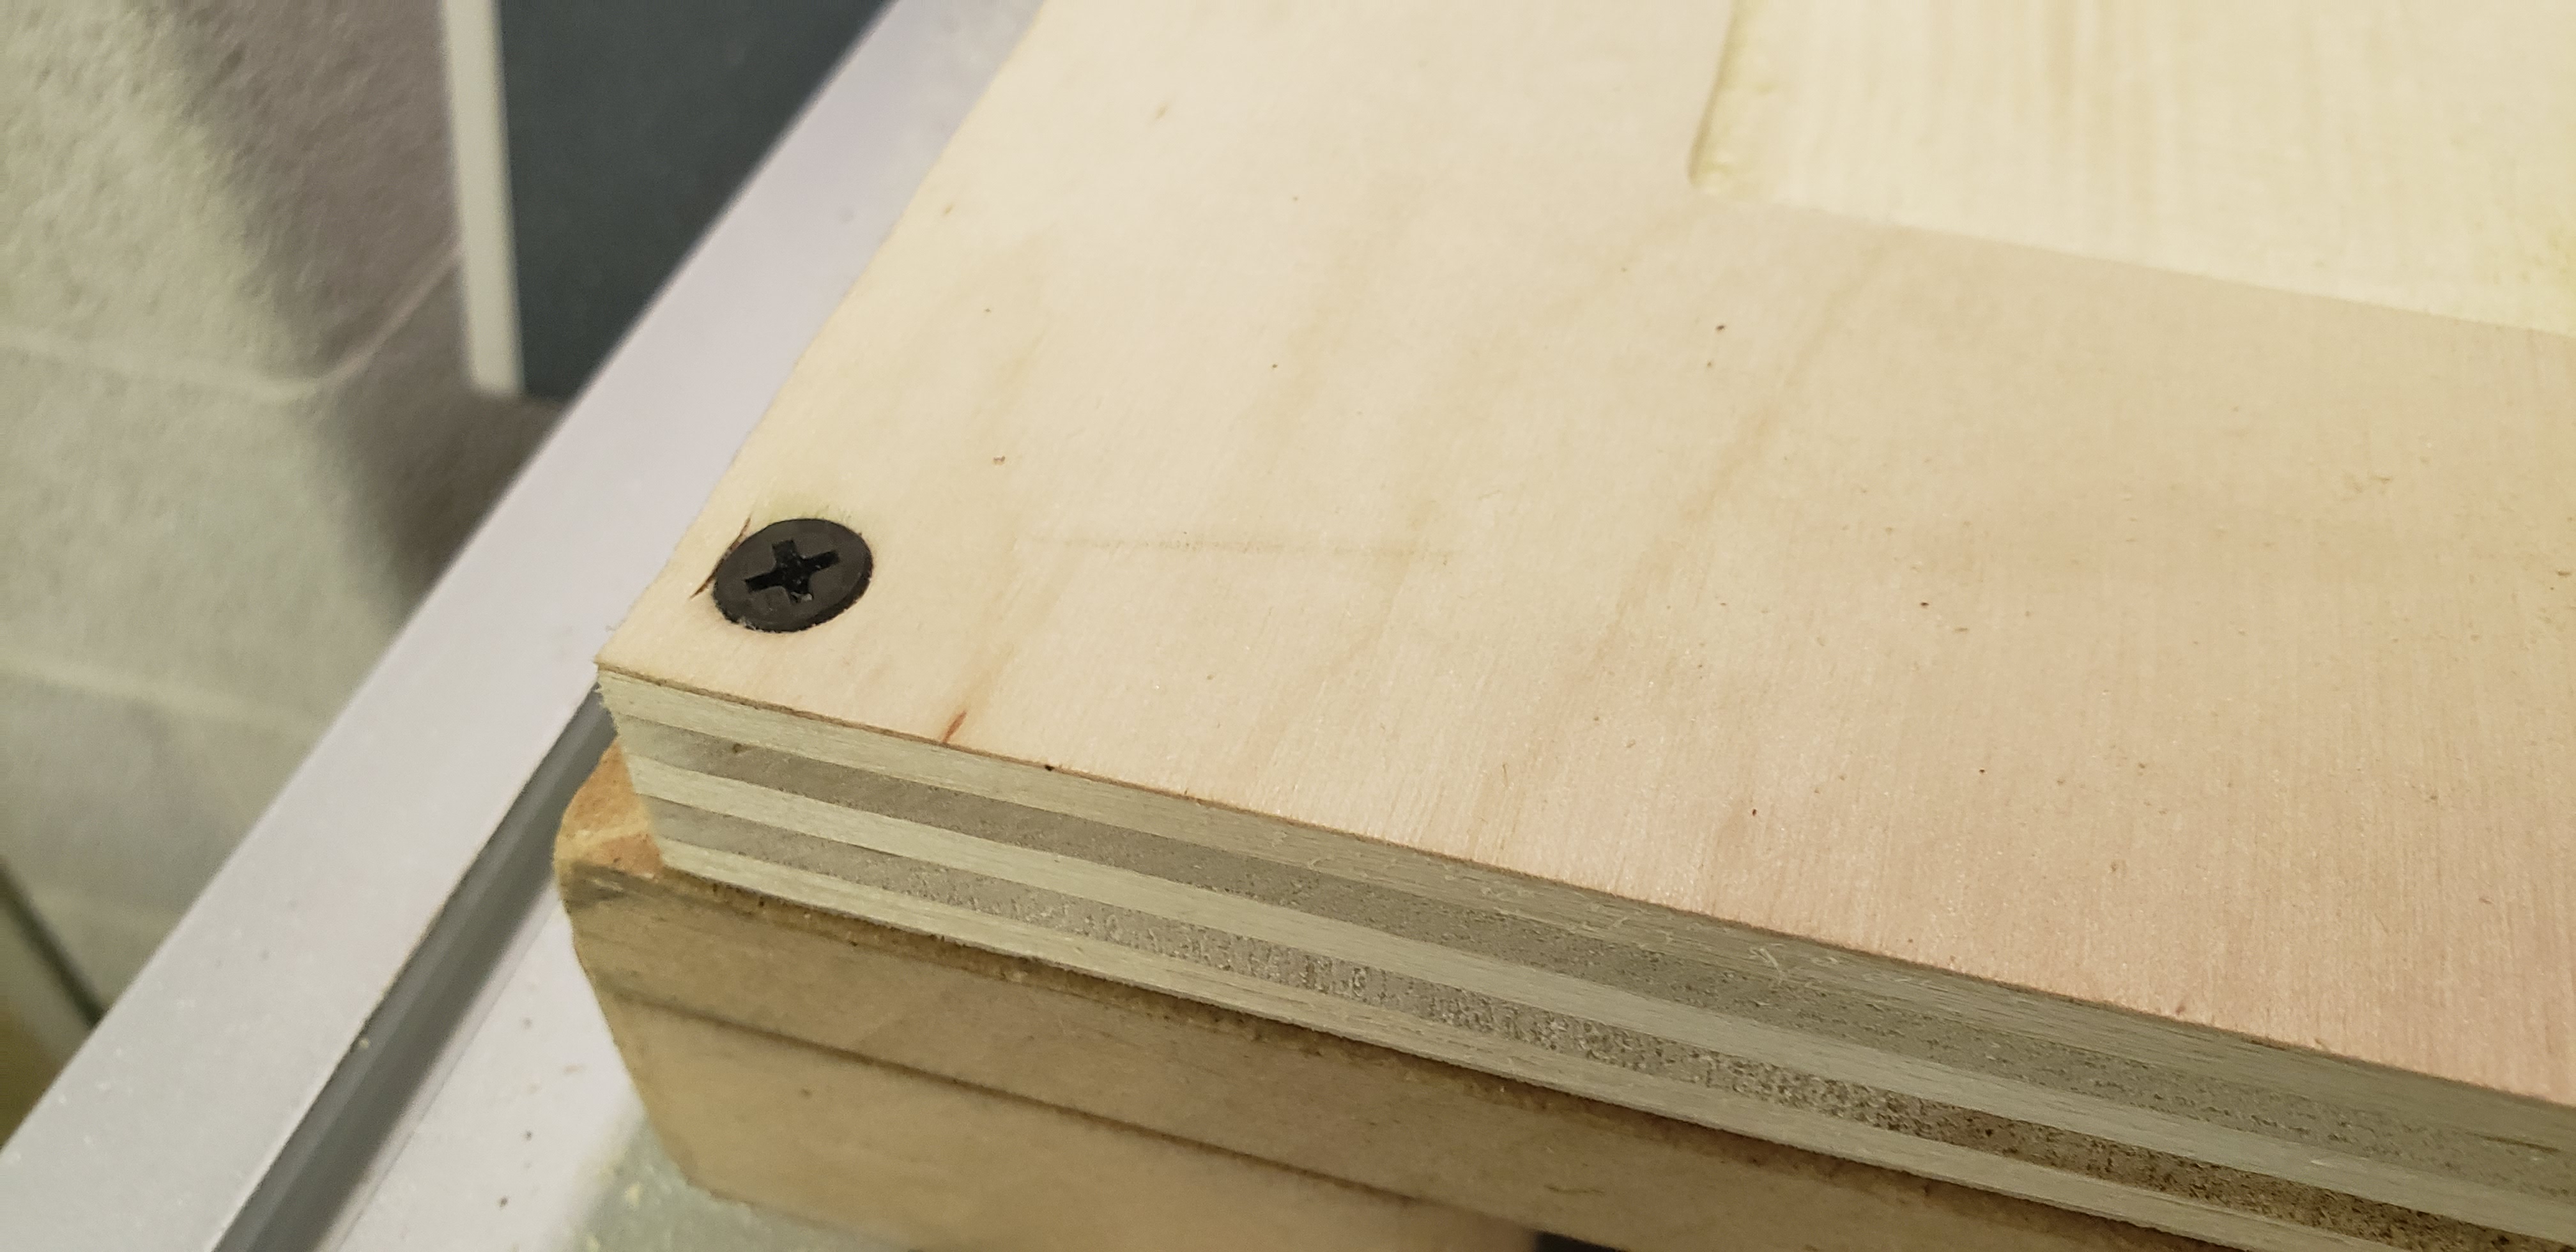
Before cutting into the plywood, We also have to adhere it to the axiom bed using both double sided tape and screws in all four corners
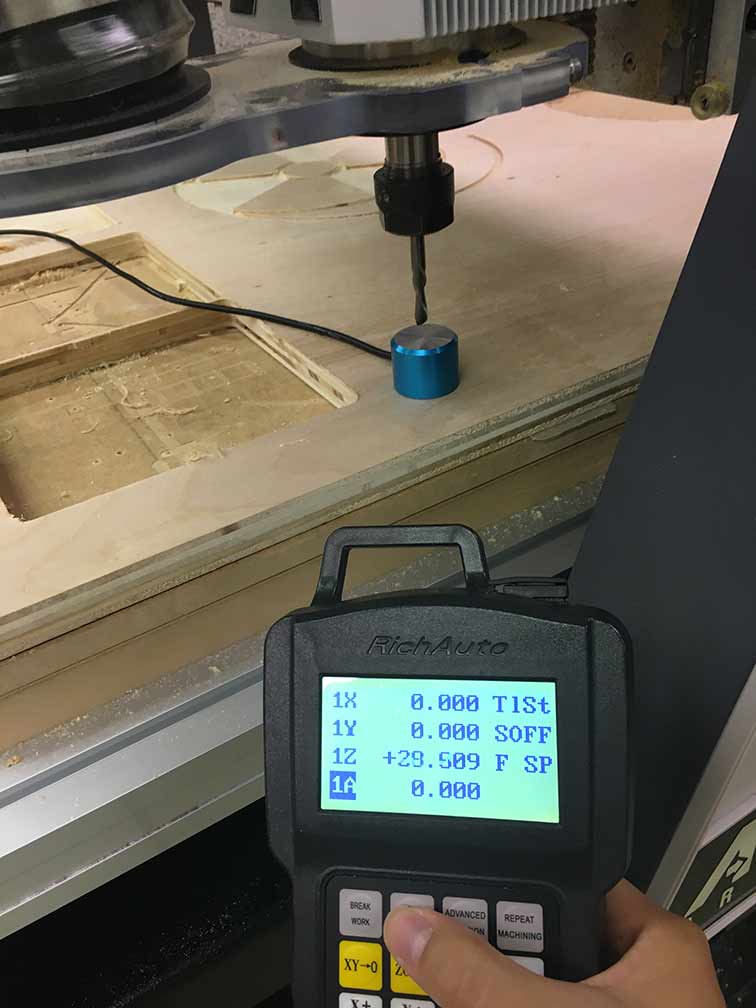
Next I needed to calibrate and set up my work space so the bit and plywood would cut in my desired spot. I set the X and Y origin points to a corner of my wood stock. Then, with the metal touch-off sensor, I reset the Z axis origin to the surface of the bed
After turning on the dust collector I pressed start! Here is a photo of the axiom cutting the wood. It was very loud

Halfway finished with the cutting pass
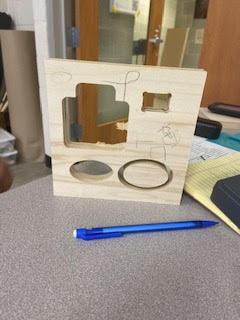
Here is what my test cut looked like completely cut
CNC Creative Project
My roommate and I love our tea and plants but are running out of room in our dorm to store them. I decided a custom shelf would be the perfect solution!
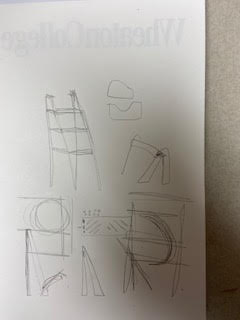
I started by sketching up some designs that I felt would be simple enough to create and wouldn't use much wood with our limited 2x4’’ plywood size.
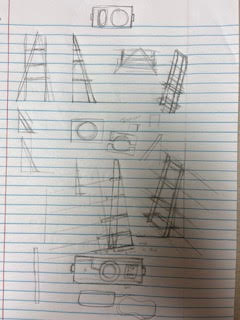
I decided on this leaning ladder style of shelf that would have 3 shelfs.
I was able to find a very similar DIY modeled shelf that was exactly what I had in mind, but then changed the dimensions a bit to fit the size of my plywood. website!

In illustrator I constructed my mock up. Here I am measuring out the 10 degree diagonal cut that will allow the shelf to lean against the wall
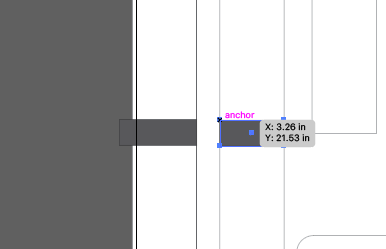
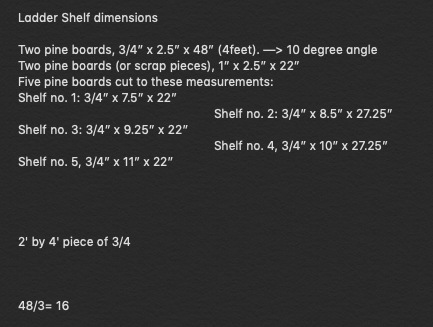
Next I added space to show where I would plan to carve out a quarter of an inch on the long beam panes that would allow the shelves to slide into these slits. Here is my finished design sketch!

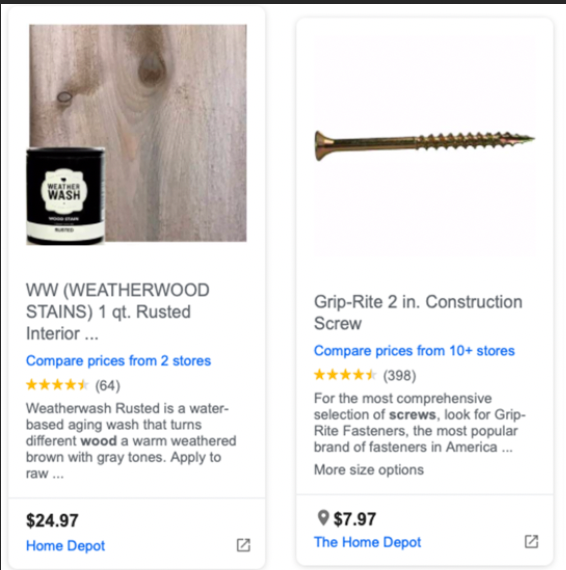
Additional materials would be some staining for aesthetic purposes and screws to make the shelve panes extra strong.
Here is the link to my design files click here!